Configure Customer Fields
Define a small, consistent customer field set, add values to representative records, and govern later changes.
Summary
This guide creates business-specific customer fields that remain consistent across the workspace.
Capabilities
This process allows you to define, edit, and remove custom customer fields in your workspace, so operators can track relevant business data beyond the standard fields.
Prerequisites
Before You Start
- List the customer facts that operators repeatedly need.
- Remove anything already covered by standard customer, invoice, payment, or risk fields.
- Choose an owner for each proposed field.
- Decide the correct type for each value.
- Use an Owner or Member role in the active team, with workspace writes available. Viewers cannot save definitions or values.
Concepts
1. Design a Small Field Set
Start with no more than the fields needed for one operating process.
Example:
| Field | Type | Owner |
|---|---|---|
| Account manager | text | Customer success |
| Contract tier | text | Sales operations |
| Renewal date | date | Customer success |
| Health score | number | Customer success |
| Legal review required | boolean | Legal operations |
Define how the team should enter each value before you add it. The Owner column above is a team responsibility, not a field in the settings editor. The editor does not configure required values, text choices, or numeric limits.
Workflow
2. Open Customer Fields
- Select Settings.
- Select Customer fields.
- Review the current definitions.
- Confirm that a similar field does not already exist.
A differently punctuated name can normalize to the same field key.
3. Add the Definitions
For each field:
- Enter the field name.
- Select Add, or press Enter.
- Choose text, number, date, or boolean.
- Check the label.
Create a new field when the business meaning is distinct. Do not reuse an old key for a different concept. Keep the saved set within 50 fields and each label within 1–128 characters. Start new names with an A–Z letter: the generated key must begin with a lowercase letter. Names that become the same key after punctuation replacement and 64-character truncation collide.
4. Save the Workspace Field Set
Select Save changes and wait for Custom fields saved.
The definitions affect every customer record in the active workspace. They do not create values automatically. Unsaved changes remain in the local editor; saving replaces the complete field set. Coordinate with other editors to avoid overwriting each other's changes.
5. Add Representative Values
Open a customer, select Edit, and expand General if needed. Enter values under Custom fields, then select Update. Reopen the record and inspect its read-only Custom fields panel. Repeat for several customers.
Use at least:
- one typical customer
- one customer with a blank or unknown value
- one edge case, such as a very large number or a future date
Confirm that the type supports the real values that operators need. Clearing text, number, or date values displays — after saving. An untouched boolean is unset even though its switch looks off; explicitly switching it on and off saves No. There is no separate boolean control to return to unset.
If you change both standard details and custom fields, they save separately. Customer details were saved, but custom fields could not be saved. Try again. means the standard changes persisted. Retry the custom fields and reopen the record to confirm them.
6. Test the Operating Process
Ask the intended operator to:
- Find the field on a customer.
- Enter or update a value.
- Explain the meaning of the value.
- Use it in the review or handoff that motivated the field.
Rename an unclear label before many records use it.
7. Document Ownership
Record:
- who maintains the value
- when it must be updated
- what blank means
- the allowed text or numeric range when necessary
- whether the field can affect a decision
Eigenn stores the field and value. Your operating process defines its meaning.
8. Change a Field Safely
Before a rename or type change:
- Review existing values.
- Confirm that the meaning stays the same.
- Tell the operators who maintain it.
- Make the change under Settings → Customer fields.
- Select Save changes.
- Check representative customers.
A rename keeps the stable key. A type change does not convert or validate existing values. Check both the details panel and edit form, then explicitly correct incompatible values. For example, existing text false can display as Yes after a change to boolean; it has not become a saved boolean false.
9. Remove an Unused Field
Before removal:
- Confirm that no active process needs it.
- Export or record important values when necessary.
- Remove the definition.
- Select Save changes.
- Confirm that the field no longer appears on customer records.
Eigenn keeps previously saved values against the hidden key. Removal is not the same as erasing all historical values. Restoring visibility requires a definition with the same original key. A renamed label can generate a different key when added again, so keep the original name with your field-governance notes.
Behavior specification
Review Checklist
A useful customer field has:
- one clear business meaning
- the correct type
- a known owner
- a defined update cadence
- representative values tested
- no duplicate standard field
- a plan for blank and historical values
Troubleshoot
A field name is rejected as a duplicate
Choose a meaningfully different name. Spacing and punctuation do not always create a distinct key.
Operators enter inconsistent text values
Document the allowed terms. When the value is truly yes or no, use a boolean field instead.
A field disappears after removal
This is expected. The saved values remain hidden. Re-add the same field only when the workspace intends to restore that workflow.
The field does not appear after saving
Reload the customer record and confirm the active workspace. Check that the settings save succeeded.
Diagrams
Rendering diagram…
Screenshots
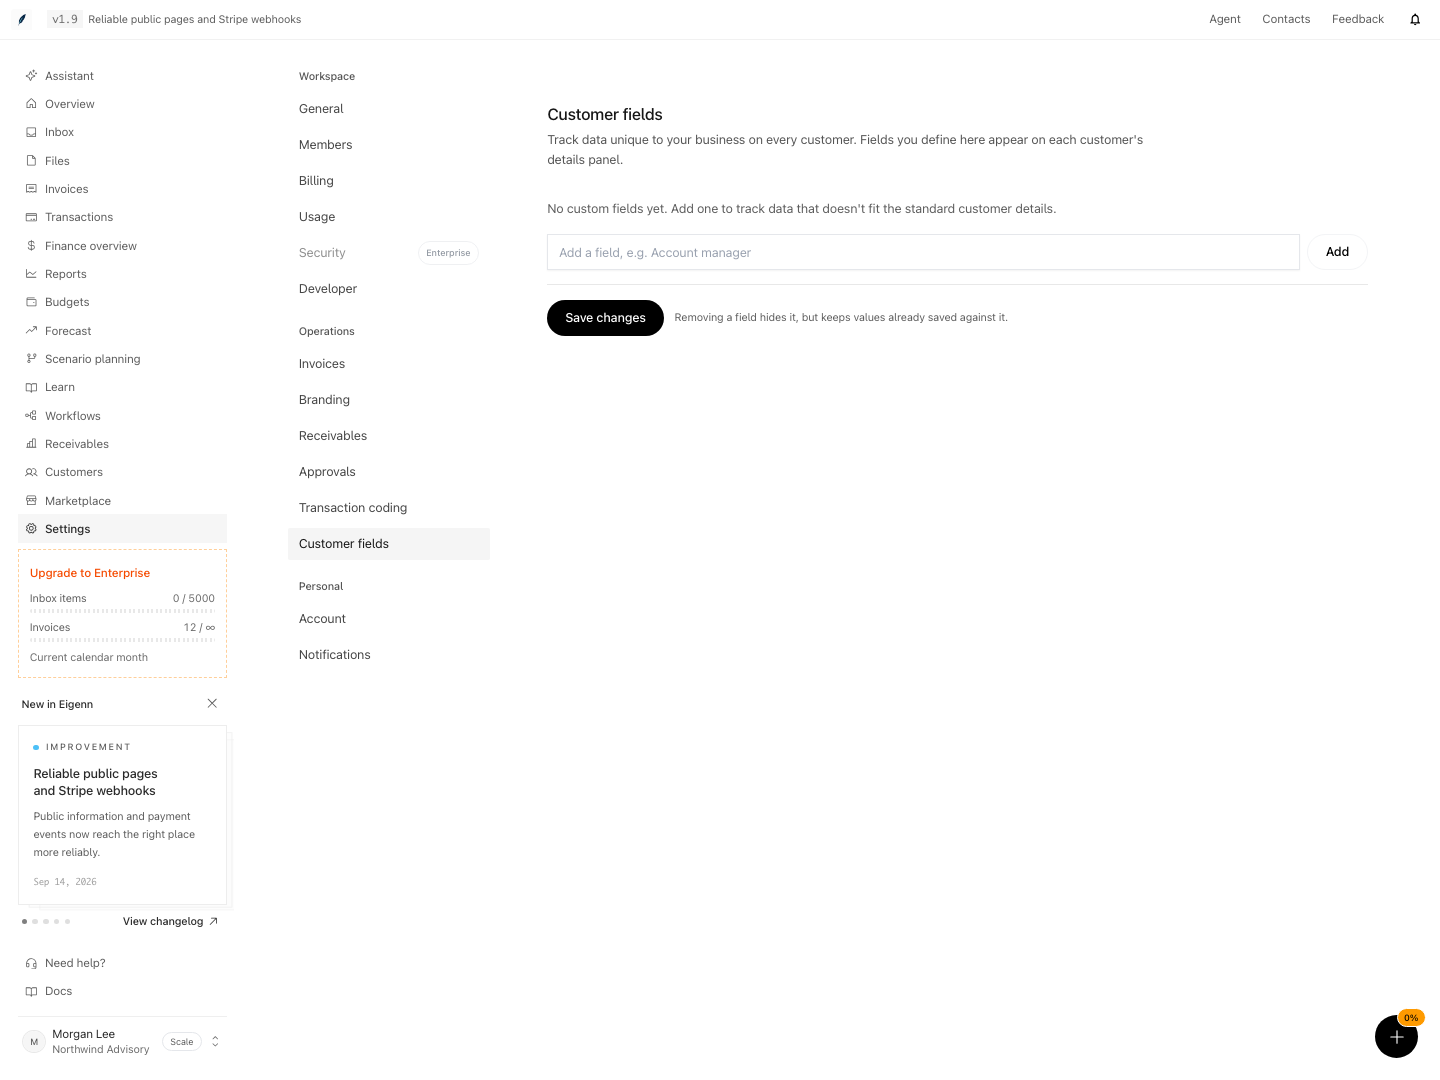
Shown with synthetic data in a local workspace.
Verification
- Navigate to Settings and open Customer fields; confirm only intentional custom fields are present.
- Add a new field with a label and type; record its responsible owner in your team process. Save and verify the field appears on customer records.
- Use Edit → General → Custom fields to enter typical, blank, and edge-case values. Select Update and reopen each record; confirm the saved values and the difference between an unset boolean and No.
- Ask an operator to find, update, and correctly use a custom field during their workflow.
- Remove an unused field, save changes, and verify it no longer appears on the customer record while prior values are hidden.
- Rename a field and confirm its old value stays attached. Change a disposable field to an incompatible type and confirm no automatic conversion; correct the value explicitly.
- Confirm a Member can save and a Viewer cannot. In a controlled save failure, verify the partial-save message and retry custom fields without assuming the standard details rolled back.
Related
Related Pages
Configure Assistant Operations
Give Assistant business context, create goals, watchers, and scheduled work, and keep a person in control of consequential actions.
Configure Notifications and Branding
Set personal alert channels, confirm a custom sender domain, and test which brand settings reach customer output.